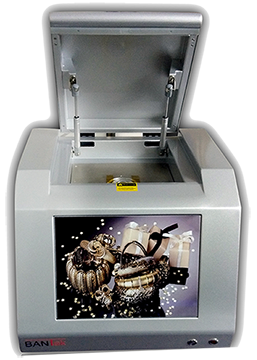
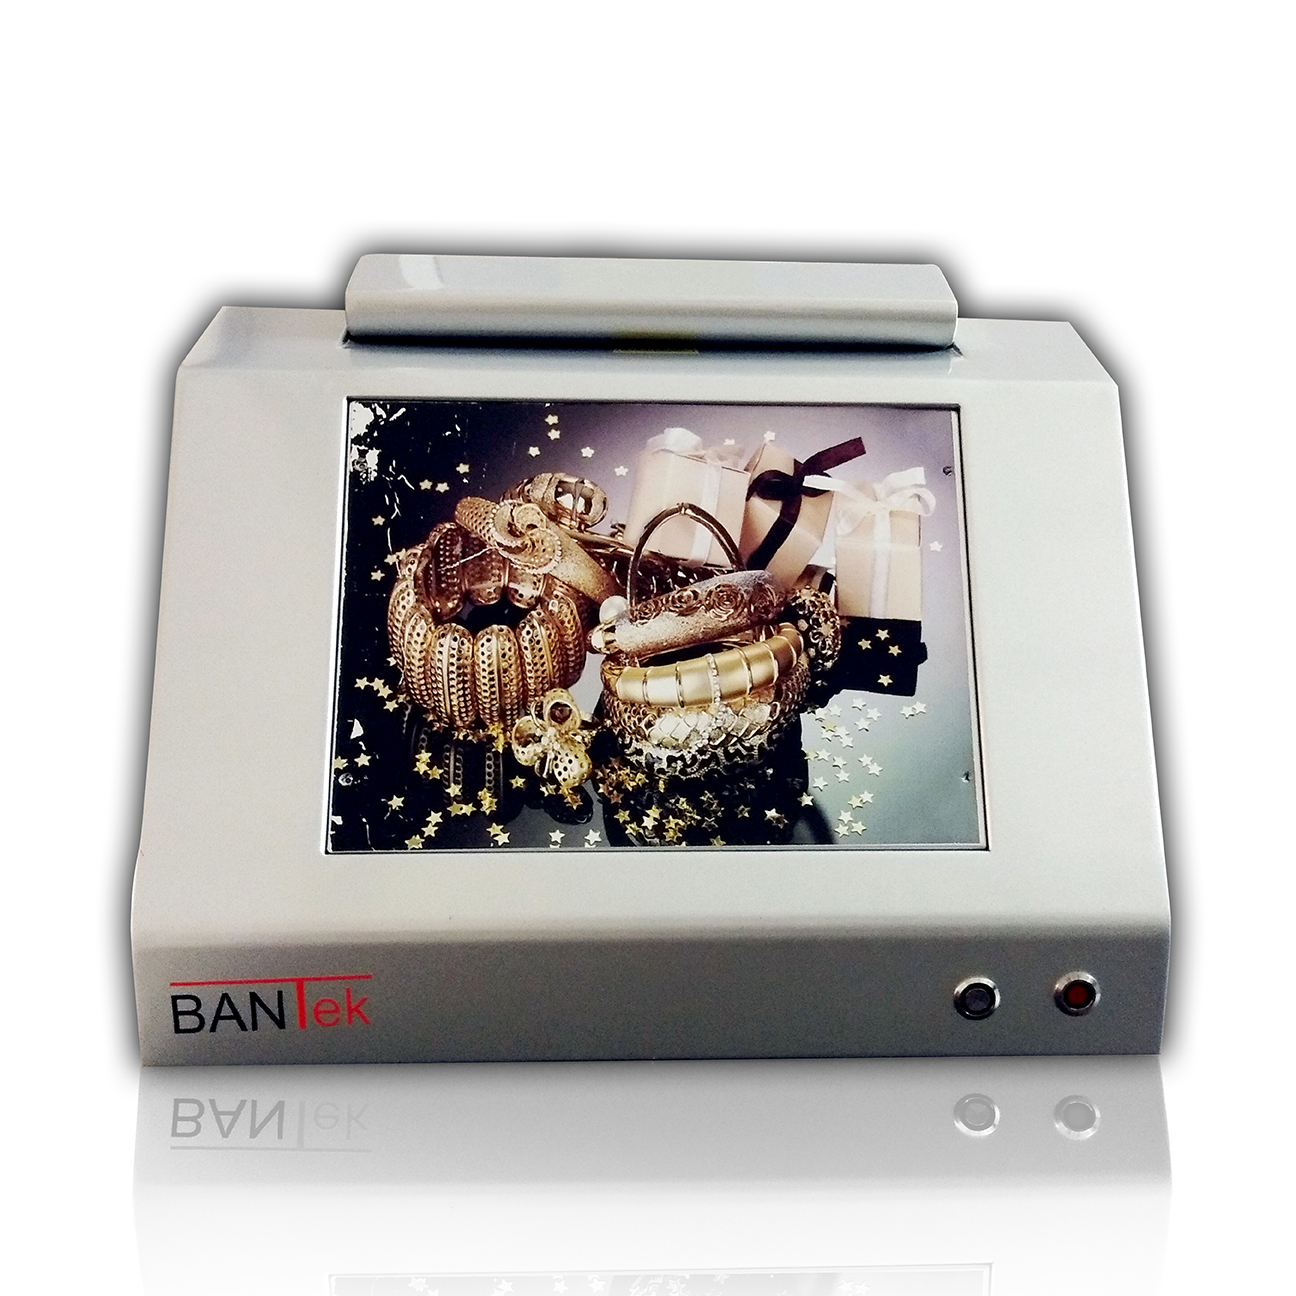
Ultra-Advance Spectrometer BAN220
The instruments of the BAN family cover a very wide range of applications. Their particular strength lies in quick and precise materials analysis and user-friendly handling, for e.g. the analysis of precious metal and gold alloys.
The instruments are also useful in the analysis of thin coatings in the electronics and PC Board industries.
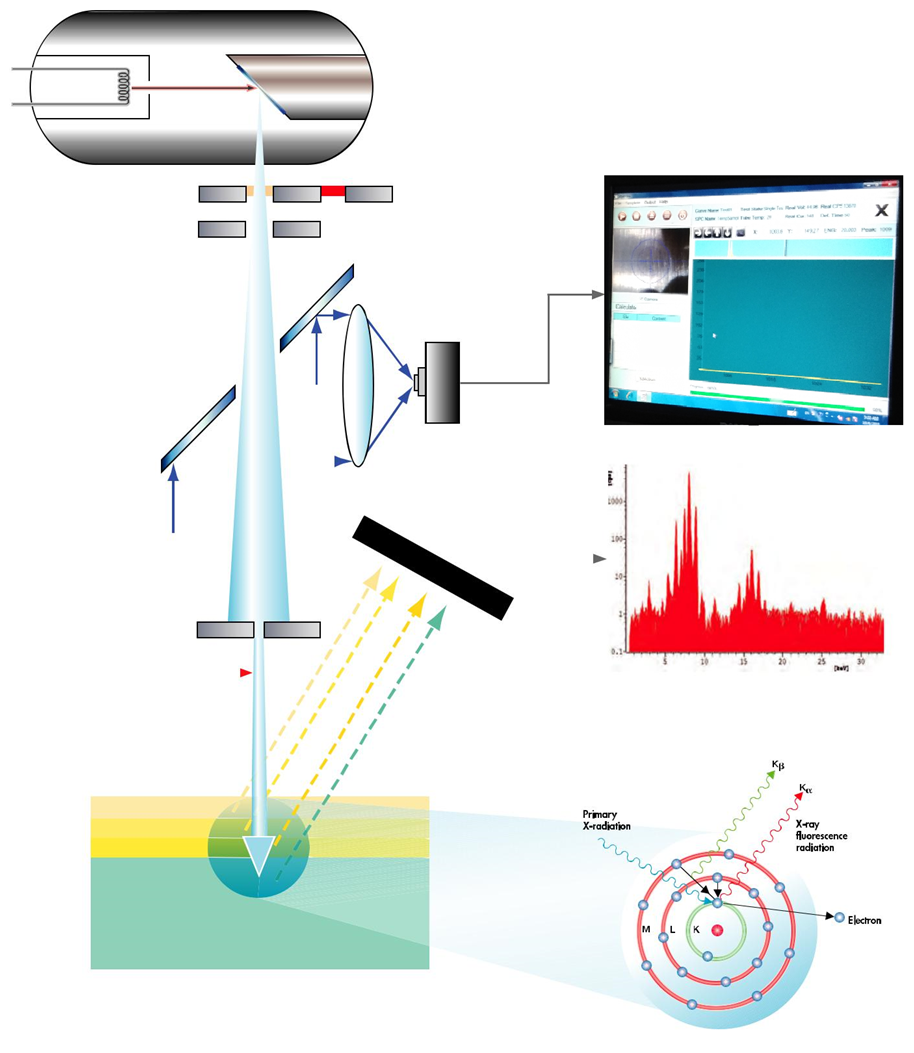
All models have in common the geometric arrangement of their hardware components.
X-ray source and detector are located below the measurement chamber. The measurement is carried out from bottom to top.
This allows for fast and easy positioning of the samples. The instruments of the BAN family are available in several versions that differ with regard to X-ray tubes, detectors, number of apertures and filters. Therefore, the BAN family offers optimized solutions for various applications and accuracy requirements while delivering excellent cost-effectiveness.
The assortment of BAN instruments also includes models with both hardware and software specially designed to meet the unique requirements of the jewelry industry and the gold trade.


Examples from practical applications
The BAN250 measurement system is frequently used to measure coatings such as Au/Ni, Au/PdNi/Ni, Ag/ Ni or Sn/Ni on various substrate materials (e.g. Cu or Fe alloys) on connectors and contacts.
Often, the functional areas are small structures such as tips or peaks, for which either very small apertures or apertures fitted to the shape of the specimen must be used, in order to keep the influence of geometry to a minimum.
For example, when performing measurements on oblong structures, slot apertures are used for maximum intensity
Characteristics
X-ray tube with W-anode and glass window or micro-focus X-ray tube with W-anode and beryllium window. Maximum operating conditions: 50 kV, 50W Proportional counter tube as X-ray detector Aperture: fixed or 4-x automatically exchangeable, 0.05 x 0.05 mm to Ø 0.3 mm Primary filter: fixed or 3-x automatically exchangeable Adjustable measuring distance 0 – 80 mm Fixed sample support, manual XY-stage Video camera for optical observation of the measurement location along the axis of the primary X-ray beam.
Crosshairs with calibrated scale (ruler) and display of the measurement spot Design-approved, fully protected instrument compliant with the German X-ray ordinance.

Typical fields of application
Measurements of mass-produced electroplated parts Corrosion protection and decorative coatings such as chrome on nickel/copper Bath analysis in the electroplating industry Measurement of e.g. thin gold, palladium and nickel coatings in the PC Board industry Measurement of coated connectors and contacts Measurement of functional coatings in the electronics and semiconductor industries Especially for measuring large and/or flexible PCBs optimised models with extended sample support are available
© COPYRIGHT 2019. ALL RIGHTS RESERVED.

